Scenario
As a data scientist, you are responsible for improving the model currently in production. After spending months fine-tuning the model, you discover one with greater accuracy than the original.
Excited by your breakthrough, you create a pull request to merge your model into the main branch.
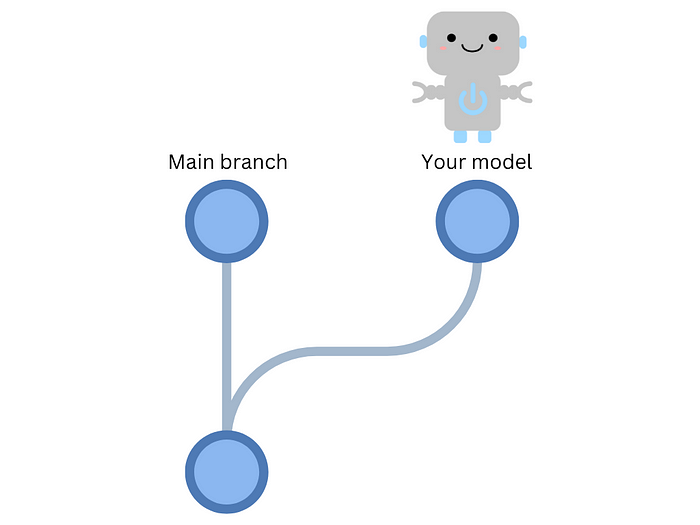
Unfortunately, because of the numerous changes, your team takes over a week to evaluate and analyze them, which ultimately impedes project progress.
Furthermore, after deploying the model, you identify unexpected behaviors resulting from code errors, causing the company to lose money.
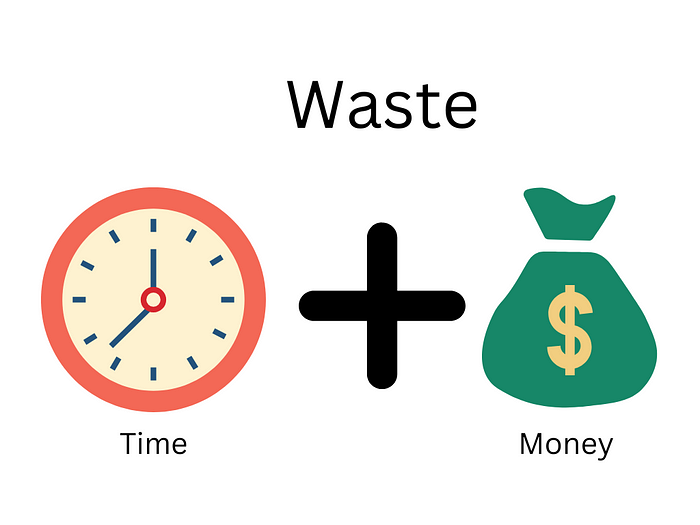
In retrospect, automating code and model testing after submitting a pull request would have prevented these problems and saved both time and money.
Continuous Integration (CI) offers an easy solution for this issue.
What is CI?
CI is the practice of continuously merging and testing code changes into a shared repository. In a machine learning project, CI can be very useful for several reasons:
- Catching errors early: CI facilitates the early identification of errors by automatically testing any code changes made, enabling timely problem detection during the development phase
- Ensuring reproducibility: CI helps ensure reproducibility by establishing clear and consistent testing procedures, making it easier to replicate machine learning project results.
- Faster feedback and decision-making: By providing clear metrics and parameters, CI enables faster feedback and decision-making, freeing up reviewer time for more critical tasks.

This article will show you how to create a CI pipeline for a machine-learning project.
Feel free to play and fork the source code of this article here:
View on GitHub
CI Pipeline Overview
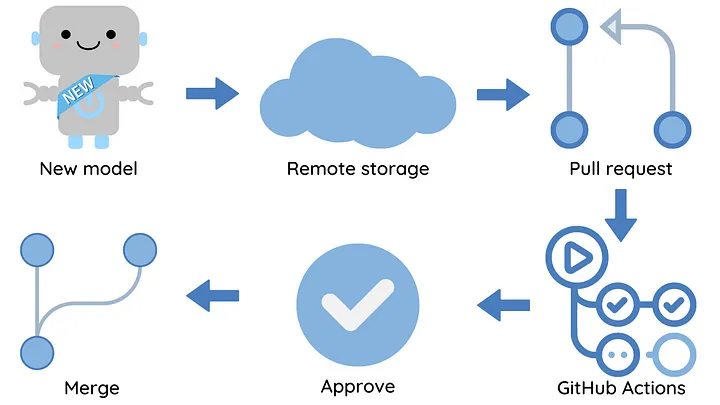
The approach to building a CI pipeline for a machine-learning project can vary depending on the workflow of each company. In this project, we will create one of the most common workflows to build a CI pipeline:
- Data scientists make changes to the code, creating a new model locally.
- Data scientists push the new model to remote storage.
- Data scientists create a pull request for the changes.
- A CI pipeline is triggered to test the code and model.
- If changes are approved, they are merged into the main branch.

Let’s illustrate an example based on this workflow.
Build the Workflow
Suppose experiment C performs exceptionally well after trying out various processing techniques and ML models. As a result, we aim to merge the code and model into the main branch.
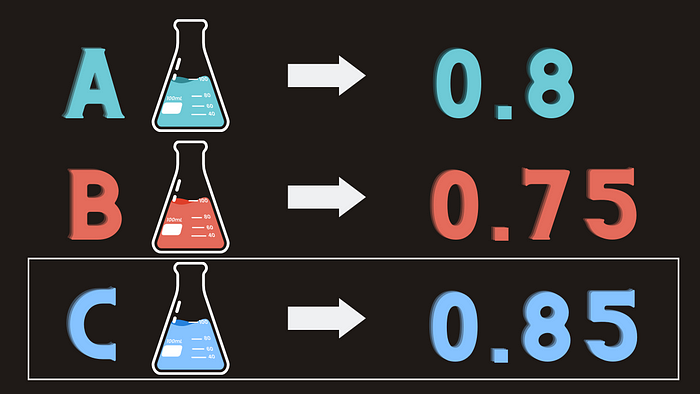
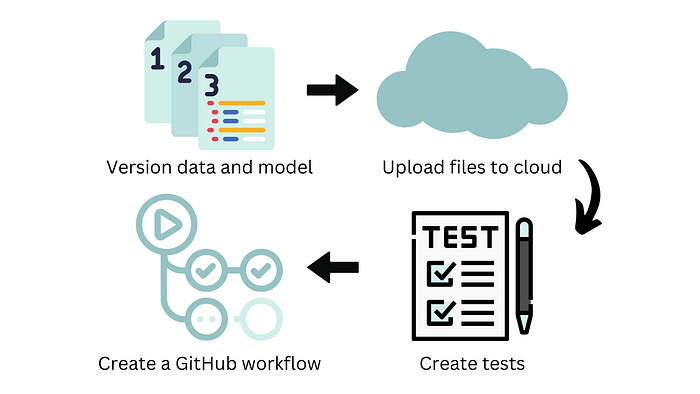
To accomplish this, we need to perform the following steps:
- Version the inputs and outputs of the experiment.
- Upload the model and data to remote storage.
- Create test files to test the code and model.
- Create a GitHub workflow.

Now, let’s explore each of these steps in detail.
Version inputs and outputs of an experiment
We will use the DVC to version inputs and outputs of an experiment of a pipeline, including code, data, and model.
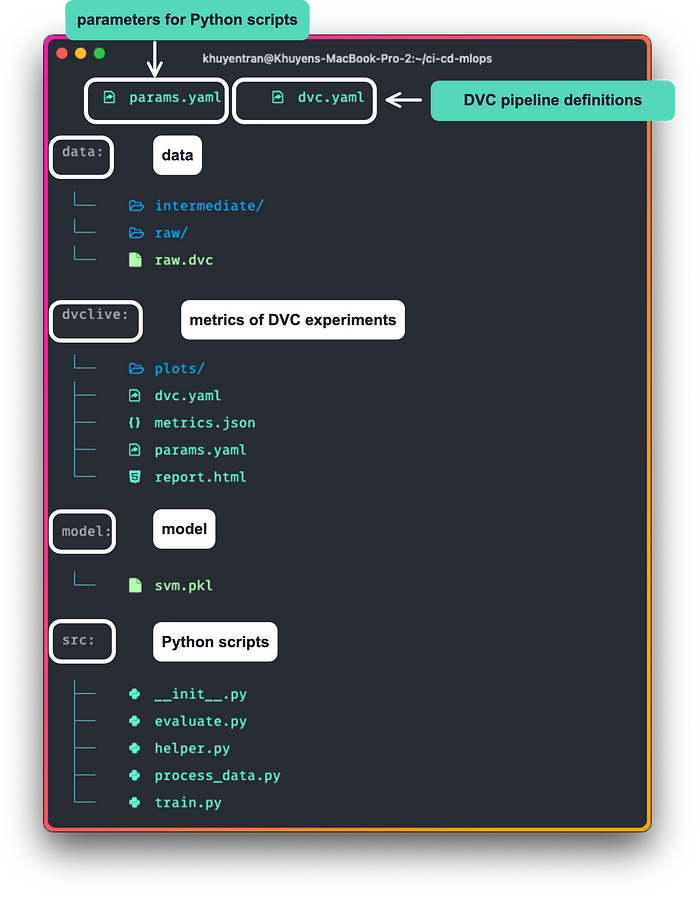
The pipeline is defined based on the file locations in the project:
stages:
  process:
    cmd: python src/process_data.py
    deps:
      - data/raw
      - src/process_data.py
    params:
      - process
      - data
    outs:
      - data/intermediate
  train:
    cmd: python src/train.py
    deps:
      - data/intermediate
      - src/train.py
    params:
      - data
      - model
      - train
    outs:
      - model/svm.pkl
  evaluate:
    cmd: python src/evaluate.py
    deps:
      - model
      - data/intermediate
      - src/evaluate.py
    params:
      - data
      - model
    metrics:
      - dvclive/metrics.json
YAML
We will describe the stages of the pipeline and the data dependencies between them in the dvc.yaml file:
To run an experiment pipeline defined in dvc.yaml, type the following command on your terminal:
dvc exp runBash
We will get the following output:
'data/raw.dvc' didn't change, skipping
Running stage 'process':
> python src/process_data.py
Running stage 'train':
> python src/train.py
Updating lock file 'dvc.lock'
Running stage 'evaluate':
> python src/evaluate.py
The model's accuracy is 0.65
Updating lock file 'dvc.lock'
Ran experiment(s): drear-cusp
Experiment results have been applied to your workspace.
To promote an experiment to a Git branch run:
        dvc exp branch <exp> <branch>
Bash
The run will automatically generate the dvc.lock file that stores the exact versions of the data, code, and dependencies between them. Using the same versions of the inputs and outputs makes sure that the same experiment can be reproduced in the future.
schema: '2.0'
stages:
  process:
    cmd: python src/process_data.py
    deps:
    - path: data/raw
      md5: 84a0e37242f885ea418b9953761d35de.dir
      size: 84199
      nfiles: 2
    - path: src/process_data.py
      md5: 8c10093c63780b397c4b5ebed46c1154
      size: 1157
    params:
      params.yaml:
        data:
          raw: data/raw/winequality-red.csv
          intermediate: data/intermediate
        process:
          feature: quality
          test_size: 0.2
    outs:
    - path: data/intermediate
      md5: 3377ebd11434a04b64fe3ca5cb3cc455.dir
      size: 194875
      nfiles: 4
YAML
Upload data and model to a remote storage
DVC makes it easy to upload data files and models produced by the pipeline stages in the dvc.yaml file to a remote storage location.
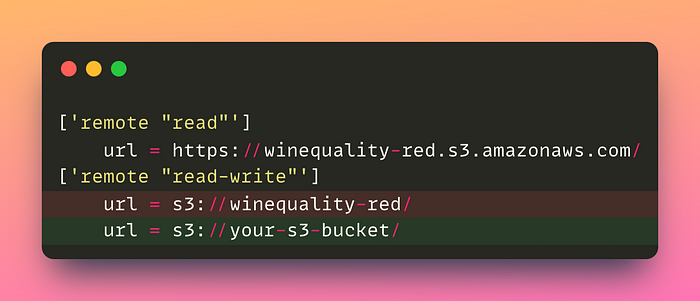
Before uploading our files, we will specify the remote storage location in the file .dvc/config:
['remote "read"']
    url = https://winequality-red.s3.amazonaws.com/
['remote "read-write"']
    url = s3://winequality-red/
YAML
Make sure to replace the URI of your S3 bucket with the “read-write” remote storage URI.
Push files to the remote storage location named “read-write”:
dvc push -r read-writeBash
Create tests
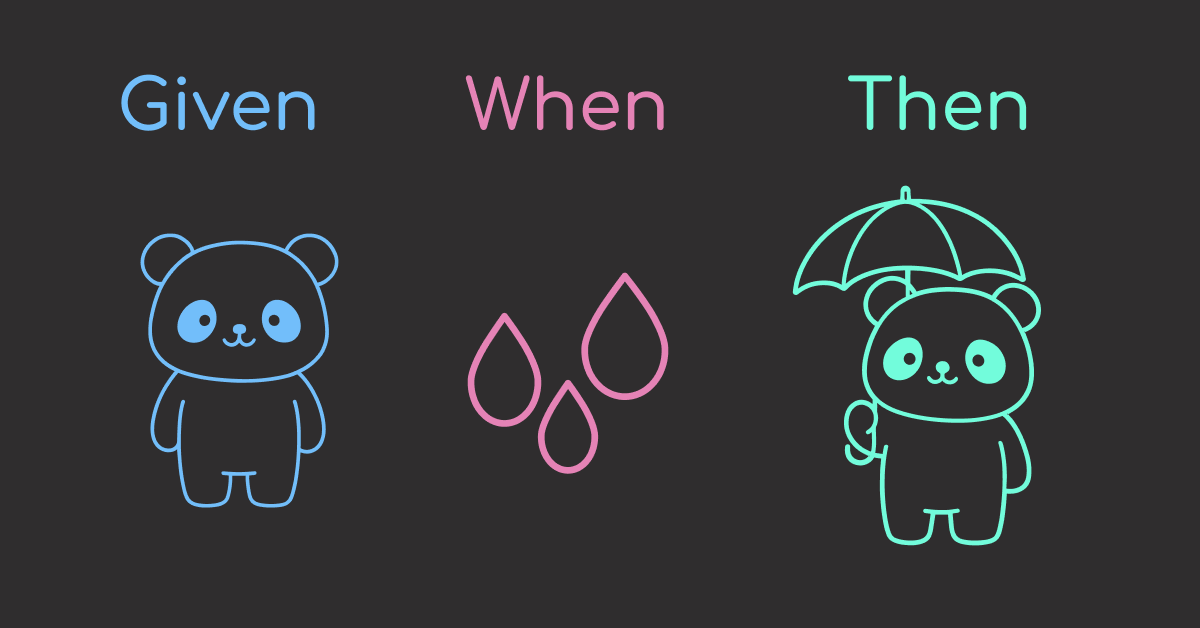
We will also generate tests that verify the performance of the code responsible for processing data, training the model, and the model itself, ensuring that the code and model meet our expectations.
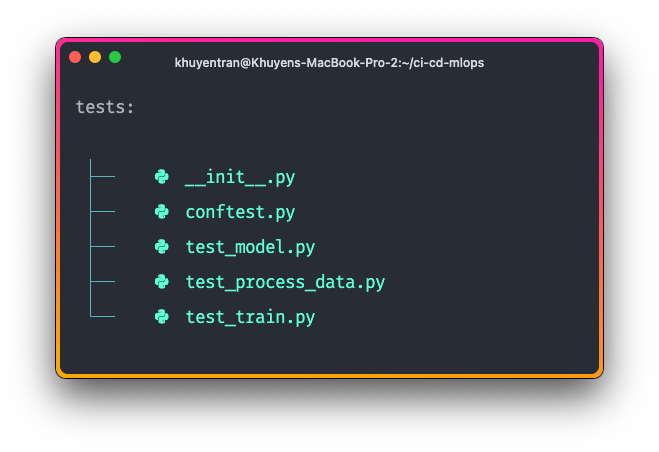
View all test files here.
Create a GitHub workflow
Now it comes to the exciting part: Creating a GitHub workflow to automate the testing of your data and model! If you are not familiar with GitHub workflow, I recommend reading this article for a quick overview.
We will create the workflow called Test code and model in the file .github/workflows/run_test.yaml:
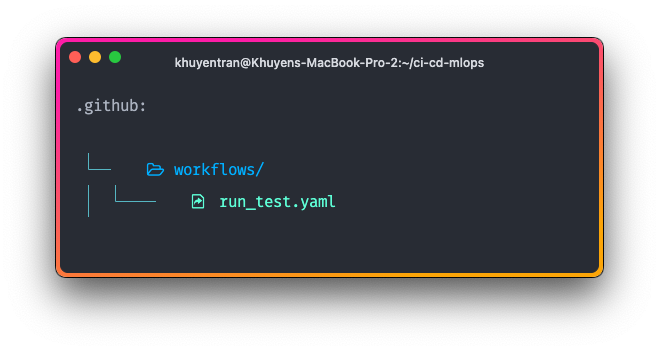
name: Test code and model
on:
  pull_request:
    paths:
      - conf/**
      - src/**
      - tests/**
      - params.yaml
jobs:
  test_model:
    name: Test processed code and model
    runs-on: ubuntu-latest
    steps:
      - name: Checkout
        id: checkout
        uses: actions/checkout@v2
      - name: Environment setup
        uses: actions/setup-python@v2
        with:
          python-version: 3.8
      - name: Install dependencies
        run: pip install -r requirements.txt
      - name: Pull data and model
        env:
          AWS_ACCESS_KEY_ID: ${{ secrets.AWS_ACCESS_KEY_ID }}
          AWS_SECRET_ACCESS_KEY: ${{ secrets.AWS_SECRET_ACCESS_KEY }}
        run: dvc pull -r read-write
      - name: Run tests
        run: pytest
      - name: Evaluate model
        run: dvc exp run evaluate
      - name: Iterative CML setup
        uses: iterative/setup-cml@v1
      - name: Create CML report
        env:
          REPO_TOKEN: ${{ secrets.TOKEN_GITHUB }}
        run: |
          # Add the metrics to the report
          dvc metrics show --show-md >> report.md
          # Add the parameters to the report
          cat dvclive/params.yaml >> report.md
          # Create a report in PR
          cml comment create report.md
YAML
The on field specifies that the pipeline is triggered on a pull request event.
The test_model job includes the following steps:
- Checking out the code
- Setting up the Python environment
- Installing dependencies
- Pulling data and models from a remote storage location using DVC
- Running tests using pytest
- Evaluating the model using DVC experiments
- Setting up the Iterative CML (Continuous Machine Learning) environment
- Creating a report with metrics and parameters, and commenting on the pull request with the report using CML.
Note that for the job to function properly, it requires the following:
- AWS credentials to pull the data and model
- GitHub token to comment on the pull request.
To ensure the secure storage of sensitive information in our repository and enable GitHub Actions to access them, we will use encrypted secrets.
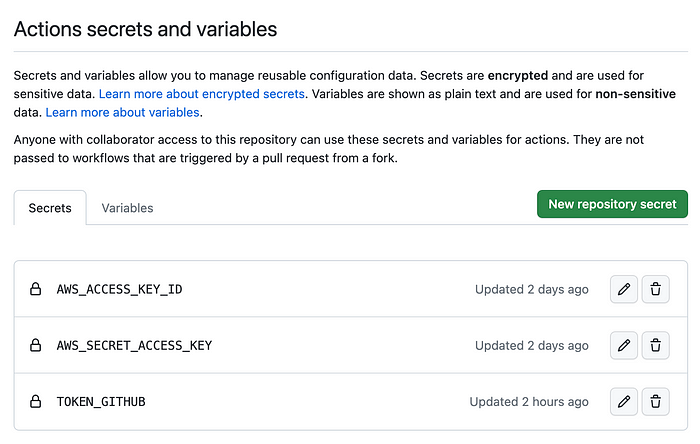
That’s it! Now let’s try out this project and see if it works as we expected.
Try it Out
Setup
To try out this project, start with creating a new repository using the project template.

Clone the repository to your local machine:
git clone https://github.com/your-username/cicd-mlops-demoBash
Set up the environment:
cd cicd-mlops-demo
git checkout -b experiment
pip install -r requirements.txt
Bash
Pull data from the remote storage location called “read”:
dvc pull -r readBash
Create experiments
The GitHub workflow will be triggered if any changes are made to the params.yaml file or files in the src and tests directories. To illustrate this, we will make some minor changes to the params.yaml file:
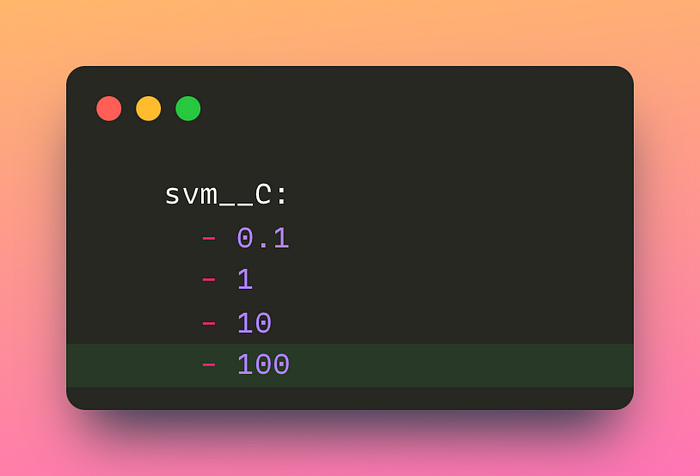
Next, let’s create a new experiment with the change:
dvc exp runBash
Push the modified data and model to remote storage called “read-write”:
dvc push -r read-writeBash
Add, commit, and push changes to the repository:
git add .
git commit -m 'add 100 for C'
git push origin experiment
Bash
Create a pull request
Next, create a pull request by clicking the Contribute button.
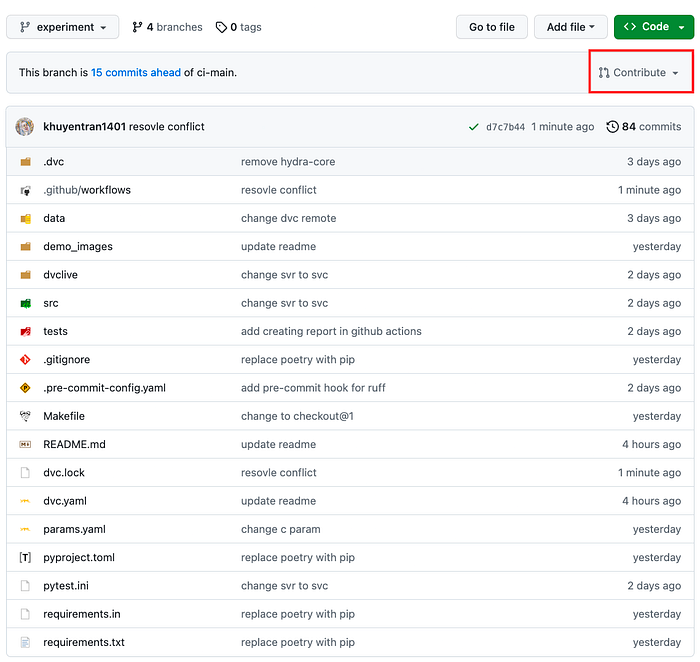
After creating a pull request in the repository, a GitHub workflow will be triggered to run tests on the code and model.
If all the tests pass, a comment will be added to the pull request, containing the metrics and parameters of the new experiment.
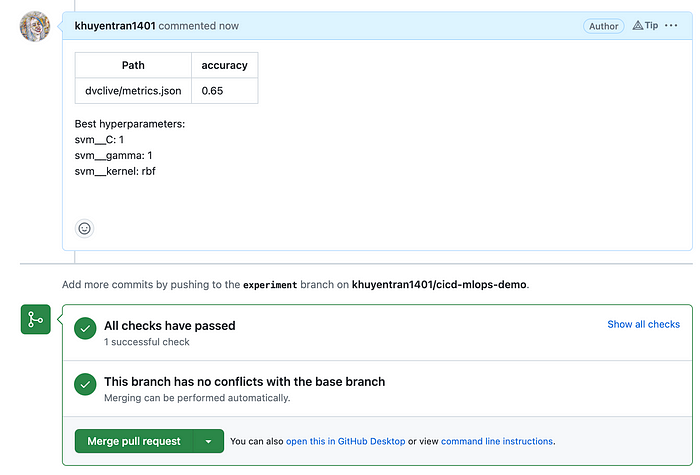
This information makes it easier for reviews to understand the changes made to the code and model. As a result, they can quickly evaluate whether the changes meet the expected performance criteria and decide whether to approve the PR for merging into the main branch. How cool is that?
Conclusion
Congratulations! You have just learned how to create a CI pipeline for your machine-learning project. I hope this article will give you the motivation to create your own CI pipeline to ensure a reliable machine-learning workflow.

