

Table of Contents
- Motivation
- What Is DVC?
- Getting Started
- Tracking Data
- Storing Data Remotely
- Retrieving Data
- Switching Between Versions
- Building a DVC Pipeline
- DVC vs MLflow: Roles and Integration
- Automating DVC with Git Hooks
- Summary
Motivation
As a data scientist, you’re constantly iterating on datasets, model configurations, and code. Reproducing past experiments becomes difficult without a system for data version control that keeps data and models in sync with code changes.
Git excels at versioning source code, but it’s not well-suited for tracking data and models for two major limitations:
- Storing big binaries inflates the repository and slows down Git operations.
- Changes in binary files can’t be meaningfully tracked.
DVC (Data Version Control) fills this gap by extending Git to handle data and models efficiently. This article shows how to use DVC to:
- Track and store datasets alongside Git-managed code
- Build reproducible pipelines and log models with MLflow
Stay Current with CodeCut
Easy-to-digest articles on Python, AI, and open-source tools. Delivered twice a week.
Key Takeaways
Here’s what you’ll learn:
- Version control datasets and models without inflating Git repositories using lightweight metadata files
- Build reproducible ML pipelines that automatically re-run only changed stages for faster iteration
- Switch between data and model versions tied to specific Git commits for reliable experimentation
- Store large files efficiently in cloud storage while maintaining Git workflow integration
- Automate data syncing with Git hooks to prevent version mismatches and pipeline failures
What Is DVC?
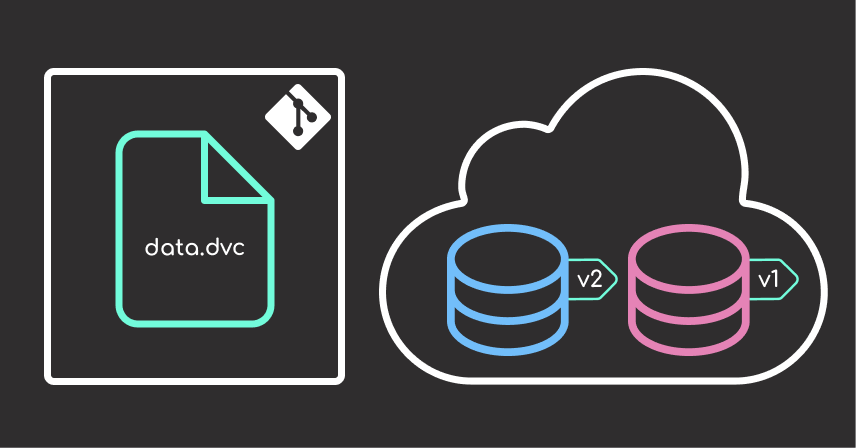
DVC is an open-source tool that brings data and model versioning into Git workflows. Instead of storing bulky files directly in Git, DVC saves them in external storage and tracks their metadata with lightweight .dvc files.
📚 For comprehensive data versioning strategies in production environments, check out Production-Ready Data Science.
If you’re comfortable with Git, DVC will feel familiar.
Install it using either of the following options:
- Using pip
pip install dvc
- Using uv (a faster Python package manager)
uv add dvc
Getting Started
Initialize DVC inside an existing Git repository:
dvc init
After running dvc init, DVC sets up the project with the necessary configuration to start tracking data. Your directory structure will look like this:
.
├── .dvc/                 # DVC config and internal files
├── .dvcignore            # Like .gitignore but for DVC operations
├── .git/                 # Git repository
└── (your project files)
Tracking Data
Assume you have a data/ directory with your raw files.
To start tracking it:
dvc add data/
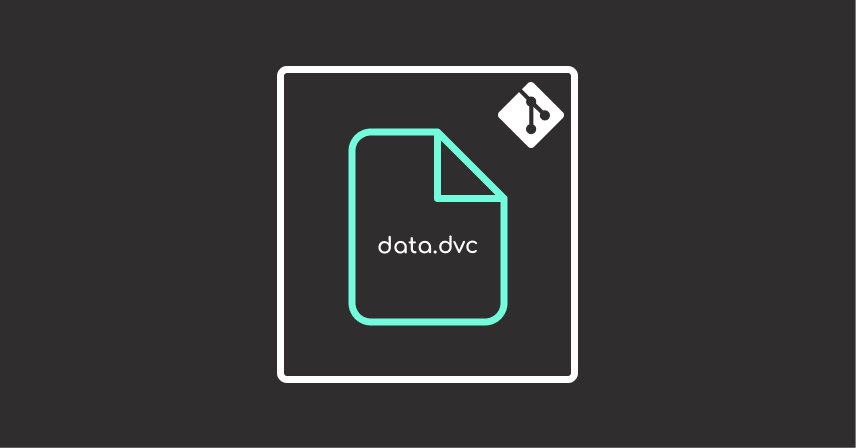
This creates a data.dvc file with metadata like:
outs:
- md5: 86451bd526f5f95760f0b7a412508746.dir
  path: data
Then commit the metadata to Git:
git add data.dvc .gitignore
git commit -m "Track dataset with DVC"
When you run dvc add data/, DVC also creates or updates a .gitignore file to prevent Git from tracking the actual data/ directory.
The directory structure after running dvc add data/ looks like this:
.
├── data/                  # Contains your actual dataset (ignored by Git)
├── data.dvc               # Metadata file tracked by Git
└── .gitignore             # Contains an entry to ignore /data/
The .gitignore file will include an entry like:
data/
This ensures that only the lightweight .dvc metadata file is versioned, while the large data files are managed separately through DVC’s external storage system.
Storing Data Remotely
DVC supports many storage backends like S3, GCS, Azure, SSH, and Google Drive.
To use Amazon S3:
- Make sure your AWS credentials are configured (e.g. with
aws configure) - Create or choose an existing S3 bucket (e.g.
my-dvc-bucket)
Then configure the remote:
dvc remote add -d myremote s3://my-dvc-bucket/path/to/data
This saves a remote entry in .dvc/config:
[core]
    remote = myremote

['remote "myremote"']
    url = s3://my-dvc-bucket/path/to/data
Commit the config:
git add .dvc/config
git commit -m "Configure S3 remote for DVC"
Then push your data:
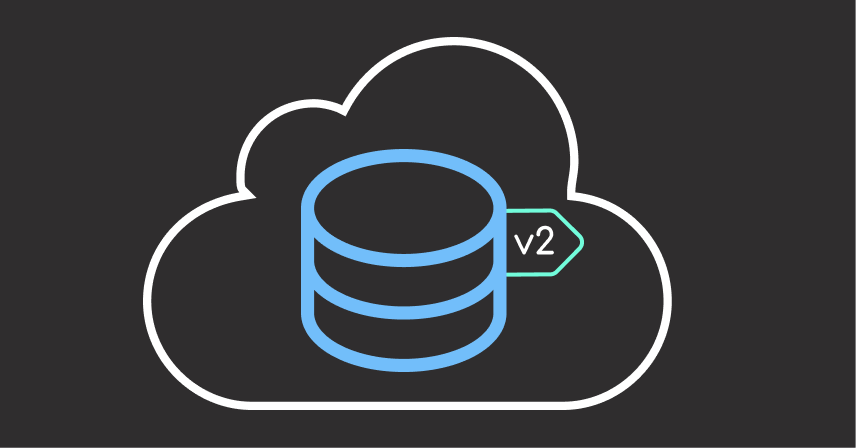
dvc push
The actual data goes to Amazon S3. The only files stays in your Git repo are:
.dvc/: a directory that stores DVC configuration, cache, and metadata files.data.dvc: the metadata file tracking your raw data directory
Retrieving Data
Suppose you just joined a project that uses DVC to manage datasets and model files. After cloning the Git repository, you might only see .dvc files and pipeline definitions, but not the actual data content.
For example:
.
└── data/
    └── raw.dvc
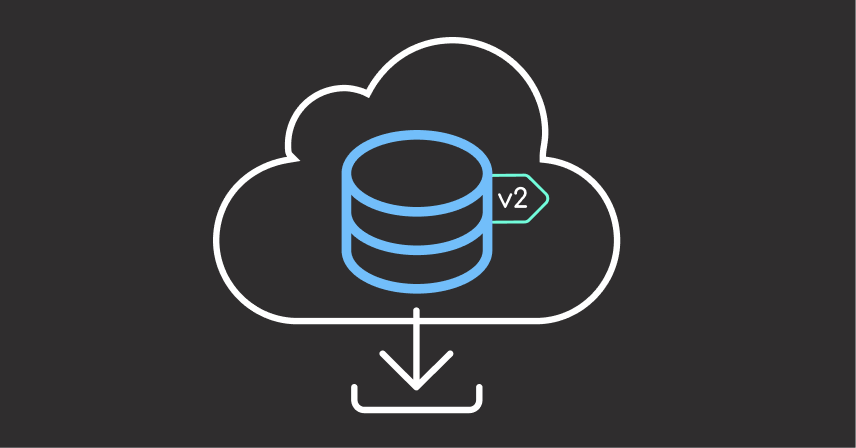
The .dvc file contains metadata pointing to the data stored in a remote location. To download and restore the full dataset locally, simply run:
dvc pull
This command downloads the required files from the configured remote storage and rebuilds the full directory structure:
.
└── data/
    ├── final/
    │   └── segmented.csv
    ├── intermediate/
    │   └── scale_features.csv
    ├── raw/
    │   └── marketing_campaign.csv
    └── raw.dvc
Switching Between Versions
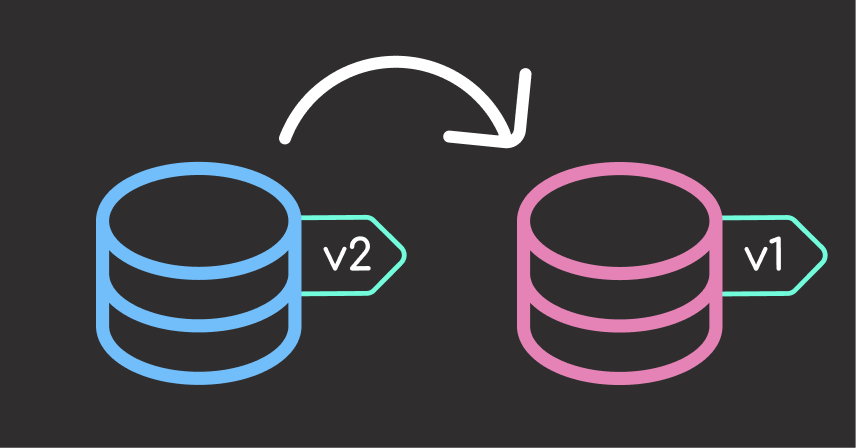
Without a reliable workflow, it’s easy to accidentally pair the wrong version of code with the wrong version of data, leading to results you can’t reproduce or trust.
# Example of mismatch: Code expects 'feature' to be in range [1, 2, 3], but data has changed

model_input = pd.read_csv("data.csv")
assert model_input['feature'].max() <= 3, "Feature values exceed expected range"
DVC’s dvc checkout command makes it easy to switch between data and model versions tied to specific Git commits or branches.
To demonstrate, let’s track and switch between two dataset versions.
First, create the initial version of the dataset using a Python script:
# example.py
import pandas as pd

# Create version 1 of dataset
df_v1 = pd.DataFrame({"feature": [1, 2, 3], "target": [0, 1, 0]})
df_v1.to_csv("data.csv", index=False)
From the terminal, run the script and track the dataset with DVC:
python example.py
dvc add data.csv
git add data.csv.dvc .gitignore
git commit -m "Version 1 of data"
Next, simulate an updated dataset version:
# example.py
import pandas as pd

# Overwrite data.csv with version 2
df_v2 = pd.DataFrame({"feature": [10, 20, 30], "target": [1, 0, 1]})
df_v2.to_csv("data.csv", index=False)
Track the updated dataset:
dvc add data.csv
git add data.csv.dvc
git commit -m "Version 2 of data"
Now switch back to version 1:
git checkout HEAD~1
dvc checkout
This restores data.csv to its original state:
| Feature | Target |
|---|---|
| 1 | 0 |
| 2 | 1 |
| 3 | 0 |
As shown, the dataset now reflects version 1 again, keeping your data aligned with the code at that point in history.
Building a DVC Pipeline
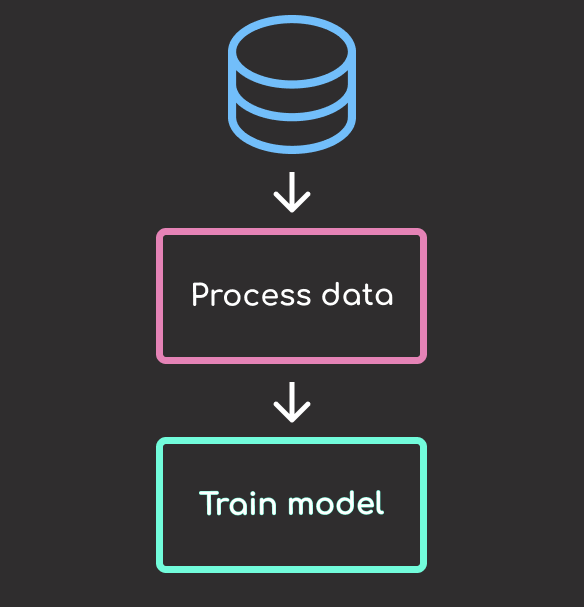
Beyond tracking data, DVC allows you to create reproducible machine learning pipelines that connect stages like preprocessing and training.
Here’s an example of a pipeline defined in dvc.yaml with two stages: process_data and train.
stages:
  process_data:
    cmd: python src/process_data.py
    deps:
    - data/raw
    - src/process_data.py
    - config
    outs:
    - data/intermediate
  train:
    cmd: python src/segment.py
    deps:
    - data/intermediate
    - src/segment.py
    - config
    outs:
    - data/final
    - model/cluster.pkl
dvc.yaml defines each pipeline stage and how DVC should execute and track it. The file includes:
stages: A top-level section that holds each named stage of the pipeline- Each stage name (e.g.
process_data,train) maps to one pipeline step cmd: The command DVC should run for that stagedeps: Dependencies the stage needs, such as data files, Python scripts, or configuration filesouts: Outputs the stage generates, which DVC will version and manage automatically
Run the entire pipeline with:
dvc repro
DVC will only re-run stages whose inputs or dependencies have changed.
For example, changing the code in src/segment.py will trigger only the affected stage:
def get_pca_model(data: pd.DataFrame) -> PCA:
    pca = PCA(n_components=4)  # changed from 3 to 4
    pca.fit(data)
    return pca
Then run:
dvc repro
DVC output:
'data/raw.dvc' didn't change, skipping
Stage 'process_data' didn't change, skipping
Running stage 'train':
> python src/segment.py
Only the train stage is re-executed. This targeted re-execution improves pipeline efficiency and preserves consistency.
You can visualize the pipeline with:
dvc dag
This shows a graph of your pipeline stages and their relationships.
+--------------+
| data/raw.dvc |
+--------------+
        *
        *
        *
+--------------+
| process_data |
+--------------+
        *
        *
        *
    +-------+
    | train |
    +-------+
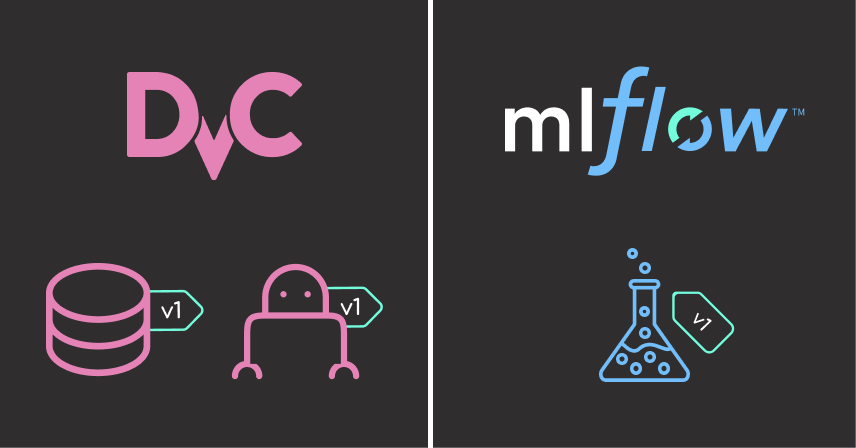
DVC vs MLflow: Roles and Integration
DVC and MLflow both support reproducibility in machine learning projects, but they target different aspects of the workflow:
- DVC focuses on version-controlling datasets, models, and pipelines. It ensures consistency and scalability by integrating tightly with Git and external storage.
- MLflow is built for experiment management: logging parameters, metrics, and artifacts to compare different runs.
Key Differences
| Feature | DVC | MLflow |
|---|---|---|
| Primary Focus | Data and model file versioning | Experiment tracking and model registry |
| Storage | External file systems (S3, etc) | Local filesystem, S3, Azure, GCS |
| Git Integration | Yes | Optional |
| Pipeline Support | Yes (dvc.yaml) | No |
| Metrics Tracking | Basic (.json, .tsv) | Extensive (via mlflow.log_*) |
| Web UI | No (3rd-party only) | Yes (mlflow ui) |
How to Integrate DVC and MLflow
You can combine DVC and MLflow for a powerful, end-to-end MLOps workflow:
- Use DVC to manage and version datasets, models, and pipeline outputs
- Use MLflow to log parameters, metrics, and artifacts for experiment tracking and comparison
This code shows how to integrate DVC and MLflow in a pipeline stage defined in segment.py.
# Save artifacts to disk so DVC can version and track them
save_data_and_model(data, model, config)

# Log run metadata, metrics, and models with MLflow
with mlflow.start_run():

    mlflow.log_params({"n_components": 3, "random_state": 42, "best_k": k_best})
    mlflow.log_metric("silhouette_score", silhouette_avg)
    signature = infer_signature(pca_df, pred)
    mlflow.sklearn.log_model(
        model, "kmeans_model", signature=signature, input_example=pca_df.head()
    )
    mlflow.log_artifact(config.final.path, "processed_data")
Reproduce the pipeline stages and sync the outputs to remote storage with DVC:
dvc repro
dvc push
This integration ensures data and code are reproducible via DVC, while experiment metadata is logged in MLflow.
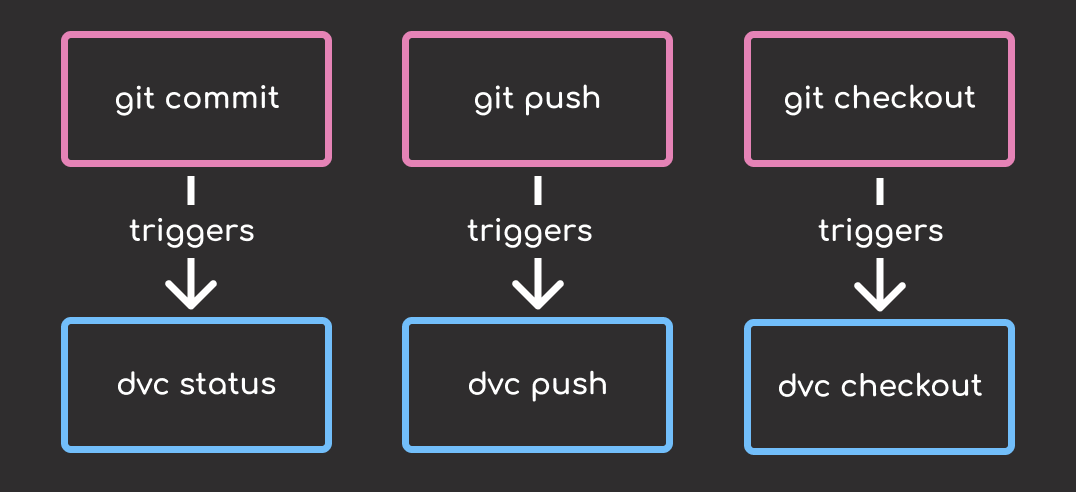
Automating DVC with Git Hooks
Without automation, it’s easy to forget critical DVC steps, like running dvc push after updating data, or dvc checkout after switching Git branches.
DVC integrates with pre-commit to streamline automation of DVC operations like syncing, pushing, and restoring data.
You can configure DVC’s pre-commit integration automatically with:
dvc install --use-pre-commit-tool
Or manually add the following to your .pre-commit-config.yaml:
repos:
- repo: https://github.com/iterative/dvc
  rev: 3.59.2
  hooks:
  - id: dvc-pre-commit
    additional_dependencies:
    - .[all]
    language_version: python3
    stages:
    - pre-commit
  - id: dvc-pre-push
    additional_dependencies:
    - .[all]
    language_version: python3
    stages:
    - pre-push
  - id: dvc-post-checkout
    additional_dependencies:
    - .[all]
    language_version: python3
    stages:
    - post-checkout
    always_run: true
The pre-commit framework only installs the pre-commit hook by default. To enable the pre-push and post-checkout hooks, run:
pre-commit install --hook-type pre-push --hook-type post-checkout --hook-type pre-commit
Try It Out
Once you’ve set up Git hooks (manually or using pre-commit), you can verify they work with this simple test:
- Modify a tracked file (e.g. update a notebook or a script).
- Stage and commit the change:
git add src/train.py
git commit -m "Update training logic"
If the pre-commit hook is installed correctly, you’ll see output showing the result of running dvc status, such as:
DVC pre-commit....................................Passed
- hook id: dvc-pre-commit
- duration: 0.4s

process_data:
        changed deps:
                modified:           config
train:
        changed deps:
                modified:           config
- Push the commit:
git push
If the pre-push hook is active, you’ll see the output from dvc push, such as:
DVC pre-push....................................Passed
This confirms that the pre-push hook is uploading data and models using dvc push.
Summary
DVC bridges the gap between Git and data versioning:
dvc add: track data or modelsdvc repro: run the pipeline and only re-execute the changed stagesdvc push: store files in remote storagedvc pull: retrieve files from remotedvc checkout: sync data versions with Git history
📚 Want to go deeper? Learning new techniques is the easy part. Knowing how to structure, test, and deploy them is what separates side projects from real work. My book shows you how to build data science projects that actually make it to production. Get the book →
Stay Current with CodeCut
Easy-to-digest articles on Python, AI, and open-source tools. Delivered twice a week.

1 thought on “Version Control for Data and Models Using DVC”
One convenient way to integrate DVC and MLflow in a single platform is DagsHub. It combines both of them with a convenient UI, Label Studio for data annotation, and an entire data engine for curation and validation of data (I’m biased, but you might want to check it out).