Motivation
Consider this scenario: A more accurate machine learning model is developed every month and added to the main branch.
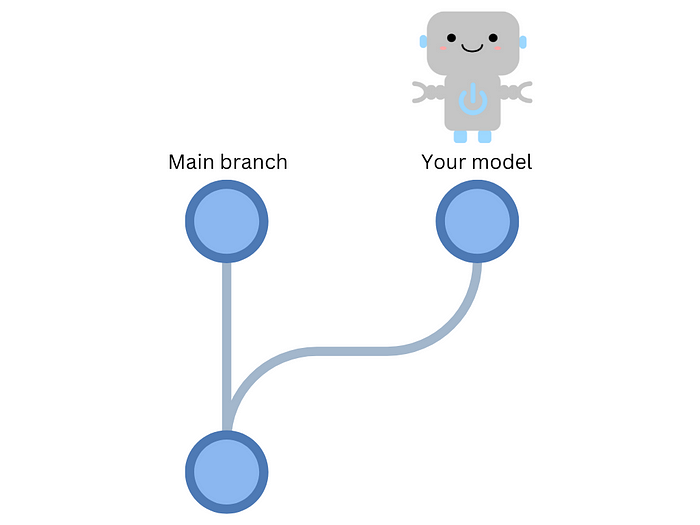
To deploy the model, you must download it to your machine, package it, and deploy it.
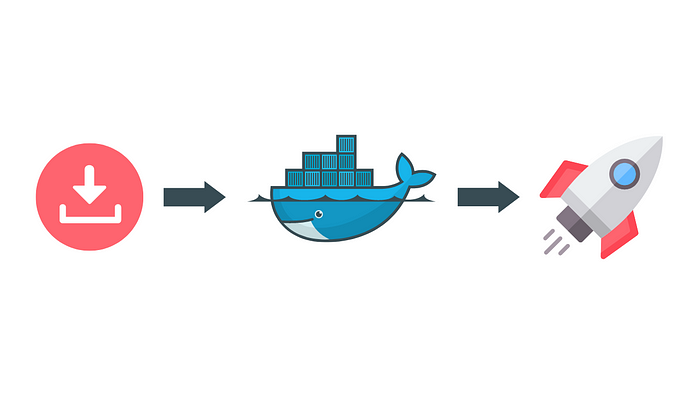
However, as you may have other responsibilities, it could take days or even weeks before you can complete the deployment, which slows down the release process and takes up valuable time that could be spent on other tasks.
Wouldn’t it be great if the model could be automatically deployed to production whenever a new version is pushed to the main branch? This is where continuous deployment comes in handy.
What is Continuous Deployment?
In the previous article, we discussed the use of continuous integration (CI) for testing code changes in a pull request before merging them into the main branch.
Upon successful testing of the code and model, continuous deployment (CD) can be utilized to automatically deploy a new model to production. Automating model deployment can provide numerous advantages, including:
- Faster time-to-market: Continuous deployment reduces the time needed to release new machine learning models to production.
- Increased efficiency: Automating the deployment process reduces the resources required to deploy machine learning models to production.
This article will show you how to create a CD pipeline for a machine-learning project.
Feel free to play and fork the source code of this article here:
Build a CD Pipeline
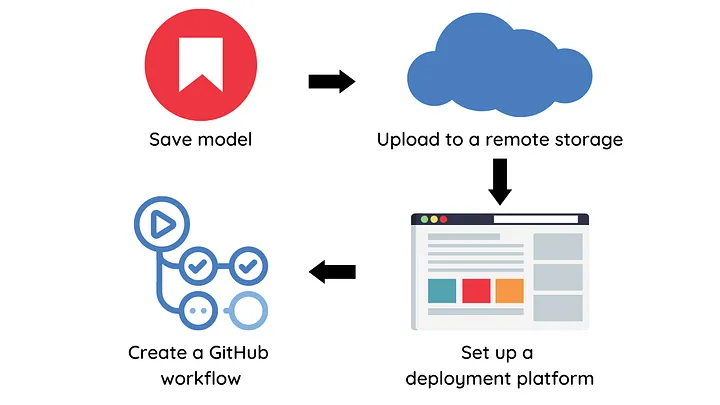
To build a CD pipeline, we will perform the following steps:
- Save model object and model metadata
- Upload the model to a remote storage
- Set up a platform to deploy your model
- Create a GitHub workflow to deploy models into production
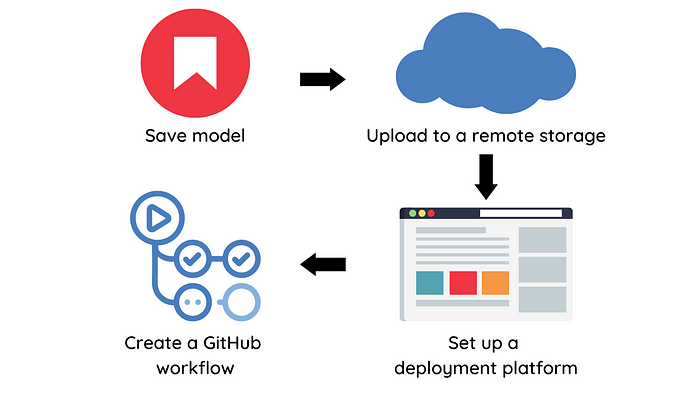
Let’s explore each of these steps in detail.
Save model
We will use MLEM, an open-source tool, to save and deploy the model.
To save an experiment’s model using MLEM, begin by calling its save method.
from mlem.api import save
...
# instead of joblib.dump(model, "model/svm")
save(model, "model/svm", sample_data=X_train)Running this script will create two files: a model file and a metadata file.
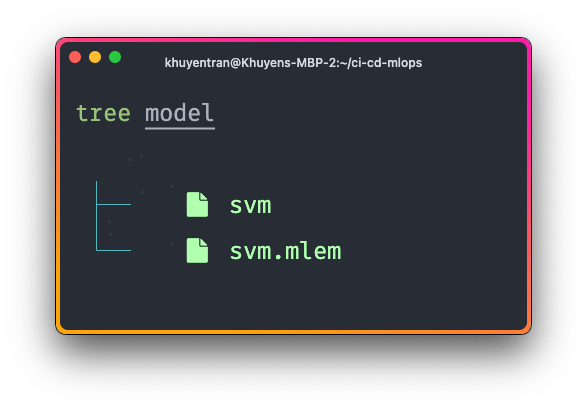
The metadata file captures various information from a model object, including:
- Model artifacts such as the model’s size and hash value, which are useful for versioning
- Model methods such as
predictandpredict_proba - Input data schema
- Python requirements used to train the model
artifacts:
  data:
    hash: ba0c50b412f6b5d5c5bd6c0ef163b1a1
    size: 148163
    uri: svm
call_orders:
  predict:
  - - model
    - predict
object_type: model
processors:
  model:
    methods:
      predict:
        args:
        - name: X
          type_:
            columns:
            - ''
            - fixed acidity
            - volatile acidity
            - citric acid
            - residual sugar
            - ...
            dtypes:
            - int64
            - float64
            - float64
            - float64
            - float64
            - ...
            index_cols:
            - ''
            type: dataframe
        name: predict
        returns:
          dtype: int64
          shape:
          - null
          type: ndarray
        varkw: predict_params
    type: sklearn_pipeline
requirements:
- module: numpy
  version: 1.24.2
- module: pandas
  version: 1.5.3
- module: sklearn
  package_name: scikit-learn
version: 1.2.2Push the model to a remote storage
By pushing the model to remote storage, we can store our models and data in a centralized location that can be accessed by the GitHub workflow.

We will use DVC for model management because it offers the following benefits:
- Version control: DVC enables keeping track of changes to models and data over time, making it easy to revert to previous versions.
- Storage: DVC can store models and data in different types of storage systems, such as Amazon S3, Google Cloud Storage, and Microsoft Azure Blob Storage.
- Reproducibility: By versioning data and models, experiments can be easily reproduced with the exact same data and model versions.
To integrate DVC with MLEM, we can use DVC pipeline. With the DVC pipeline, we can specify the command, dependencies, and parameters needed to create certain outputs in the dvc.yaml file.
stages:
  train:
    cmd: python src/train.py
    deps:
      - data/intermediate
      - src/train.py
    params:
      - data
      - model
      - train
    outs:
      - model/svm
      - model/svm.mlem:
cache: falseIn the example above, we specify the outputs to be the files model/svm and model/svm.mlem under the outs field. Specifically,
- The
model/svmis cached, so it will be uploaded to a DVC remote storage, but not committed to Git. This ensures that large binary files do not slow down the performance of the repository. - The
mode/svm.mlemis not cached, so it won’t be uploaded to a DVC remote storage but will be committed to Git. This allows us to track changes in the model while still keeping the repository’s size small.
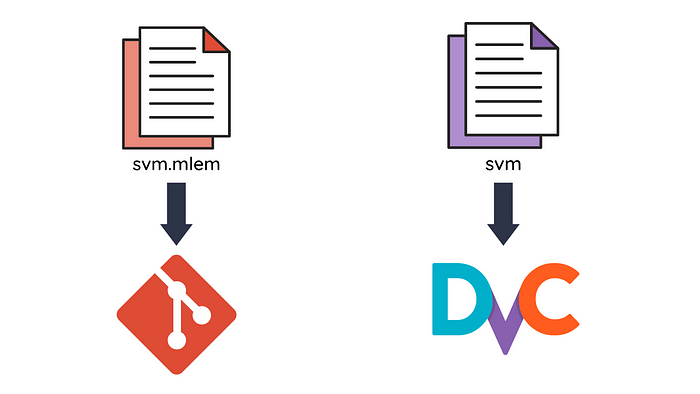
To run the pipeline, type the following command on your terminal:
$ dvc exp run
Running stage 'train':
> python src/train.py
Next, specify the remote storage location where the model will be uploaded to in the file .dvc/config :
['remote "read"']
    url = https://winequality-red.s3.amazonaws.com/
['remote "read-write"']
    url = s3://your-s3-bucket/
To push the modified files to the remote storage location named “read-write”, simply run:
dvc push -r read-writeSet up a platform to deploy your model
Next, let’s figure out a platform to deploy our model. MLEM supports deploying your model to the following platforms:
- Docker
- Heroku
- Fly.io
- Kubernetes
- Sagemaker
This project chooses Fly.io as a deployment platform as it’s easy and cheap to get started.
To create applications on Fly.io in a GitHub workflow, you’ll need an access token. Here’s how you can get one:
- Sign up for a Fly.io account (you’ll need to provide a credit card, but they won’t charge you until you exceed free limits).
- Log in and click “Access Tokens” under the “Account” button in the top right corner.
- Create a new access token and copy it for later use.

Create a GitHub workflow
Now it comes to the exciting part: Creating a GitHub workflow to deploy your model! If you are not familiar with GitHub workflow, I recommend reading this article for a quick overview.
We will create the workflow called publish-model in the file .github/workflows/publish.yaml :
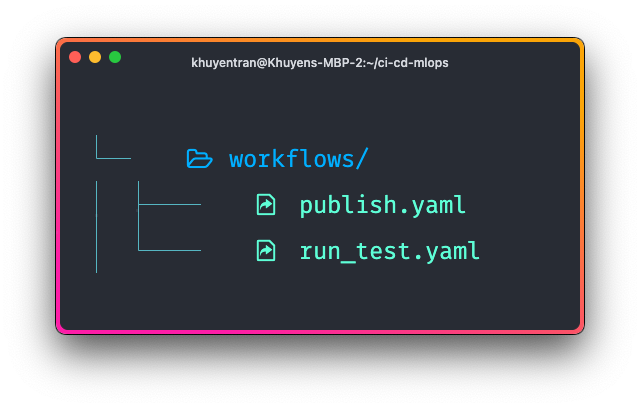
Here’s what the file looks like:
name: publish-model
on:
  push:
    branches:
        - main
    paths:
        - model/svm.mlem
jobs:
  publish-model:
    runs-on: ubuntu-latest
    steps:
      - name: Checkout
        uses: actions/checkout@v2
      - name: Environment setup
        uses: actions/setup-python@v2
        with:
          python-version: 3.8
      - name: Install dependencies
        run: pip install -r requirements.txt
      - name: Download model
        env:
          AWS_ACCESS_KEY_ID: ${{ secrets.AWS_ACCESS_KEY_ID }}
          AWS_SECRET_ACCESS_KEY: ${{ secrets.AWS_SECRET_ACCESS_KEY }}
        run: dvc pull model/svm -r read-write
      - name: Setup flyctl
        uses: superfly/flyctl-actions/setup-flyctl@master
      - name: Deploy model
        env:
          FLY_API_TOKEN: ${{ secrets.FLY_API_TOKEN }}
        run: mlem deployment run flyio svm-app --model model/svm
The on field specifies that the pipeline is triggered on a push event to the main branch.
The publish-model job includes the following steps:
- Checking out the code
- Setting up the Python environment
- Installing dependencies
- Pulling a model from a remote storage location using DVC
- Setting up flyctl to use Fly.io
- Deploying the model to Fly.io
Note that for the job to function properly, it requires the following:
- AWS credentials to pull the model
- Fly.io’s access token to deploy the model
To ensure the secure storage of sensitive information in our repository and enable GitHub Actions to access them, we will use encrypted secrets.
To create encrypted secrets, click “Settings” -> “Actions” -> “New repository secret.”
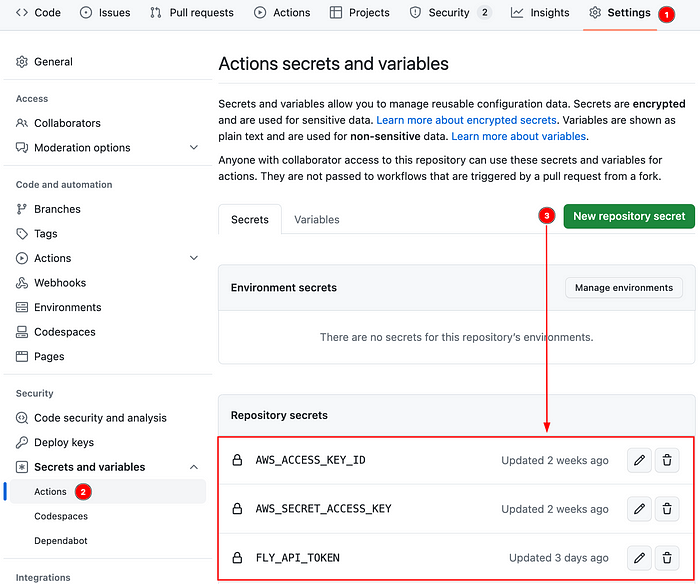
That’s it! Now let’s try out this project and see if it works as expected.
Try it Out
Follow the instructions in this GitHub repository to try out the project.
Once a pull request is created in the repository, a GitHub workflow is initiated to perform tests on the code and model. The pull request will be merged after all the tests have successfully passed.
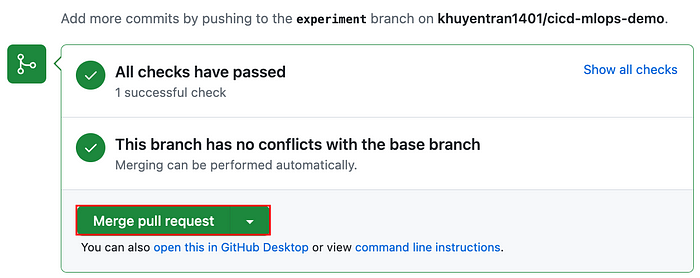
Once the changes are merged, a CD pipeline will be triggered to deploy the ML model.
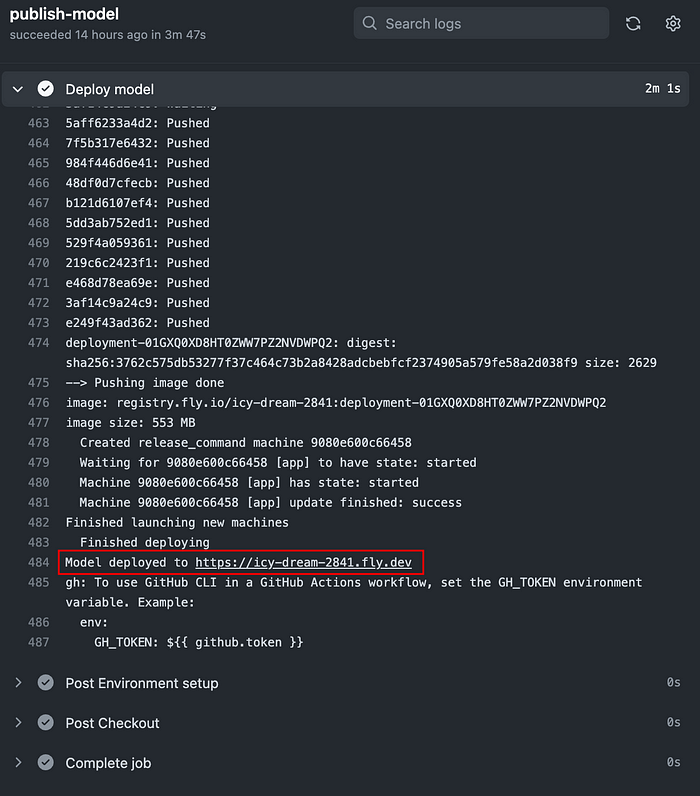
To view the workflow run, click the workflow then click the publish-model job.

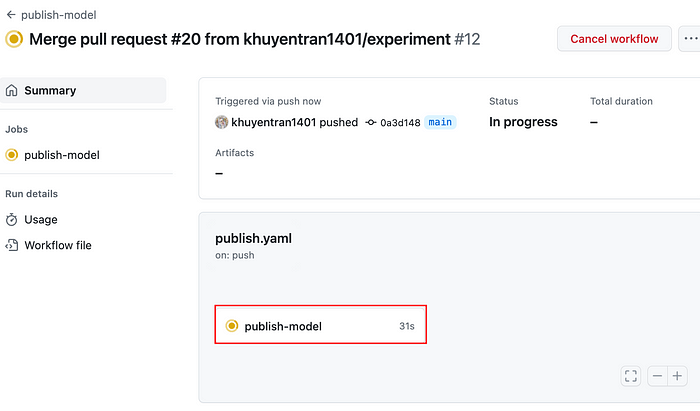
Click the link under the “Deploy model” step to view the website to which the model is deployed.
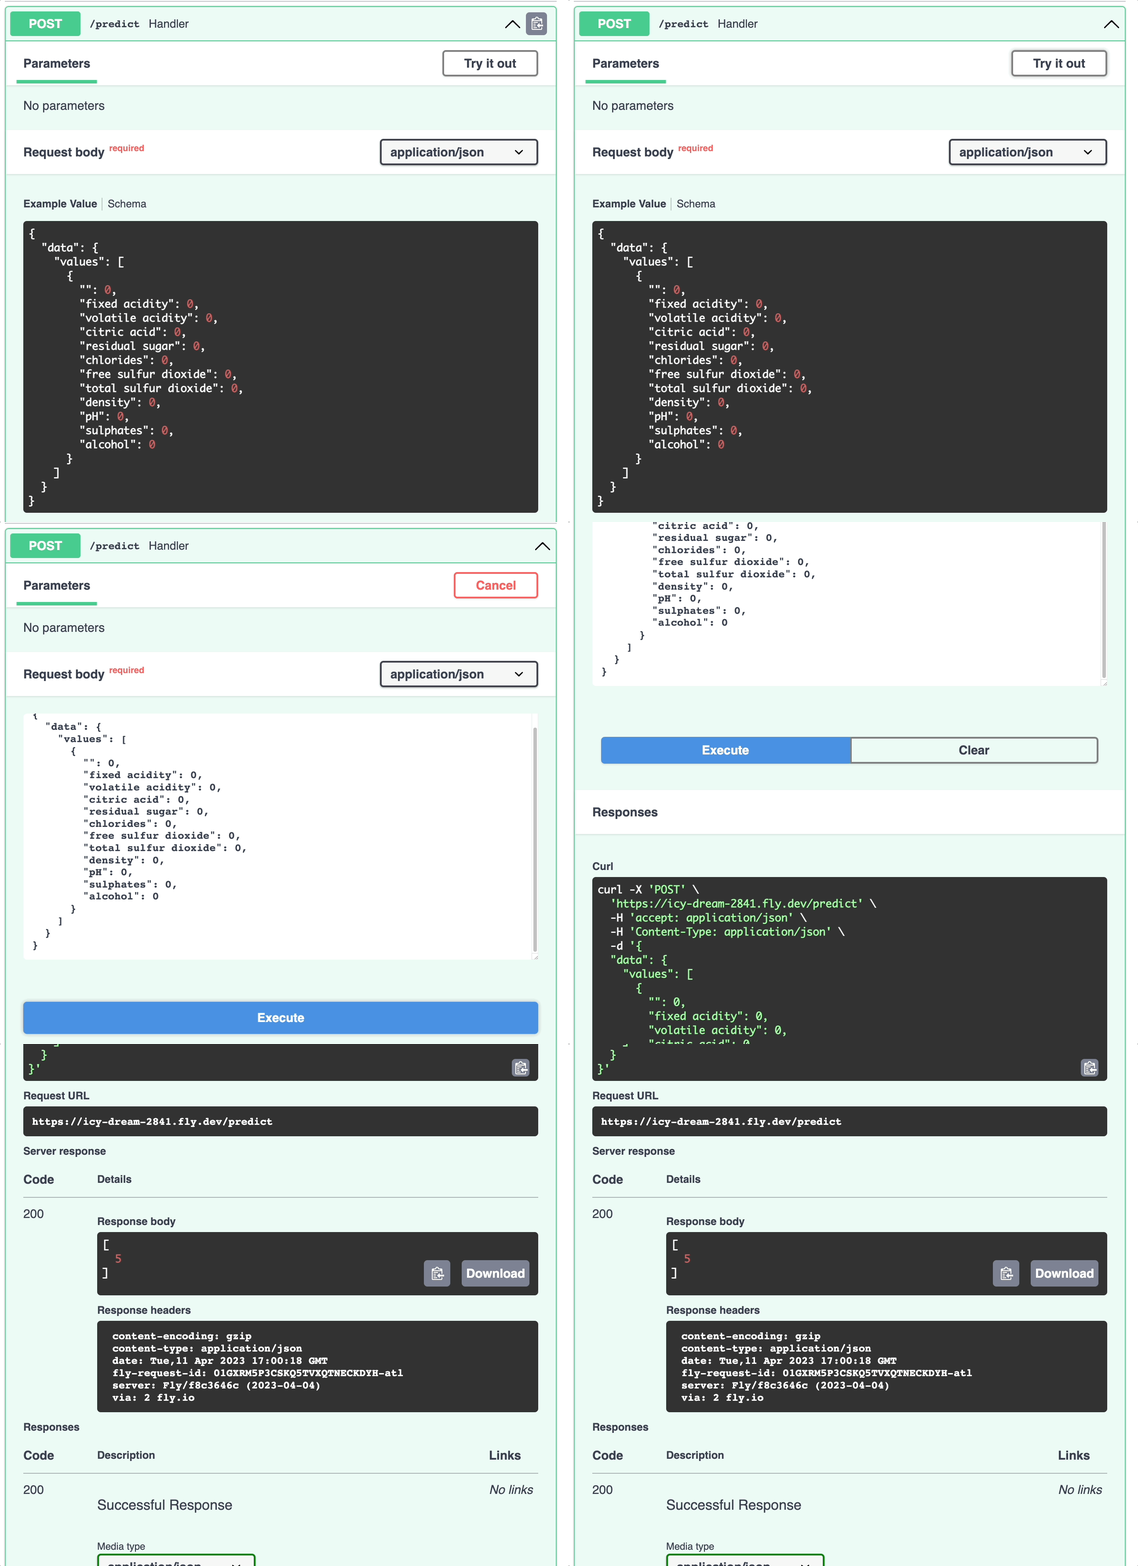
Here’s what the website looks like. Click “Try it out” to try out the model on a sample dataset.
Conclusion
Congratulations! You have just learned how to create a CD pipeline to automate your machine-learning workflows. Combining CD with CI will allow your companies to catch errors early, reduce costs, and reduce time-to-market.

